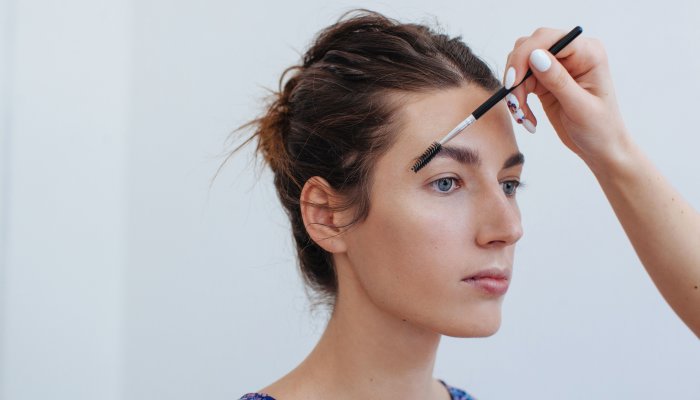
How To Correctly Map Your Brows, From A Celebrity Brow Artist

There I was, having my brows expertly groomed by celebrity brow artist Kristie Streicher. My poor set of arches are pretty wimpy and sparse (I rarely even touch them without the help of a seasoned pro), so you better believe I kept my ears open for tips as the eyebrow whisperer laminated, tinted, and plucked my face framers to perfection.
And, boy, am I glad I took mental notes: “I’m tweezing the extra hairs at the front of your brows,” she tells me during the session. “The downward shape accentuates dark circles.” Hold on a second.
As someone who deals with genetic dark shadows (thanks, Dad!), I didn’t think there was much I could do to diminish the discoloration. I certainly never thought my brows would have much say in the matter. But after I left my appointment with Streicher, my face did look brighter—especially my eyes, which appeared bluer, wider, and more lifted, sans concealer. What was this sorcery?
I followed up with Streicher, and it turns out, a few simple tweaks can transform your whole appearance—for better or worse. Here, she explains how to map your brows to create an open, refreshed eye area.
Before I go on, let me just say that brow grooming is not a one-size-fits-all venture. Everyone has a different brow shape based on their bone structure, hair density, and texture, and you should always groom those framers with respect to their natural form.
Streicher wholeheartedly agrees: “I truly believe that everyone looks best with what they’re born with,” she notes. “Discovering your individual and natural shape as well as where your eyebrows should start, arch, and end is a valuable tool.”
Now that being said, Streicher does have a universal tip to find where your own brows should start, arch, and end: use the parallel lid line. “This is a line that extends from the beginning or front of the brow and continues across the lid and ends at the tail of the brow,” she explains. You could even take a thin makeup brush and hold it right above your top lid for a clearer visual.
Any hairs that extend past this line, she says, should be removed. For example, let’s say you have some stray hairs towards the front of the brow that causes it to slant downwards towards the bridge of the nose (this is the scenario I was dealing with). “This can close out the eye and result in a scowling appearance,” says Streicher. It also creates a shadow at the inner corners that can accentuate dark circles.
On the other hand, you may have downward hairs near the tails of the brows. “When the tail of the eyebrow is groomed in a downward direction, it can draw the eyes down and give the face a droopy and aging appearance,” says Streicher.
I personally have very gappy tails (what Streicher calls truncated “short” brows), so I’ll fill in these missing hairs with her KS&CO Microfeathering Brow Pen, making sure not to extend past the parallel lid line. Even a few hairs that fall outside of this line can make a significant difference.
That being said, “Keep in mind this may be only a few hairs,” Streicher adds. “Start by slowly plucking one or two hairs, then step back for perspective before continuing.” Please, don’t over pluck! Take it slow, or better yet, opt for a professional grooming session if you can swing it. An expert will walk you through how to map your personal set of face framers, so it will be much easier for you to maintain them at home.